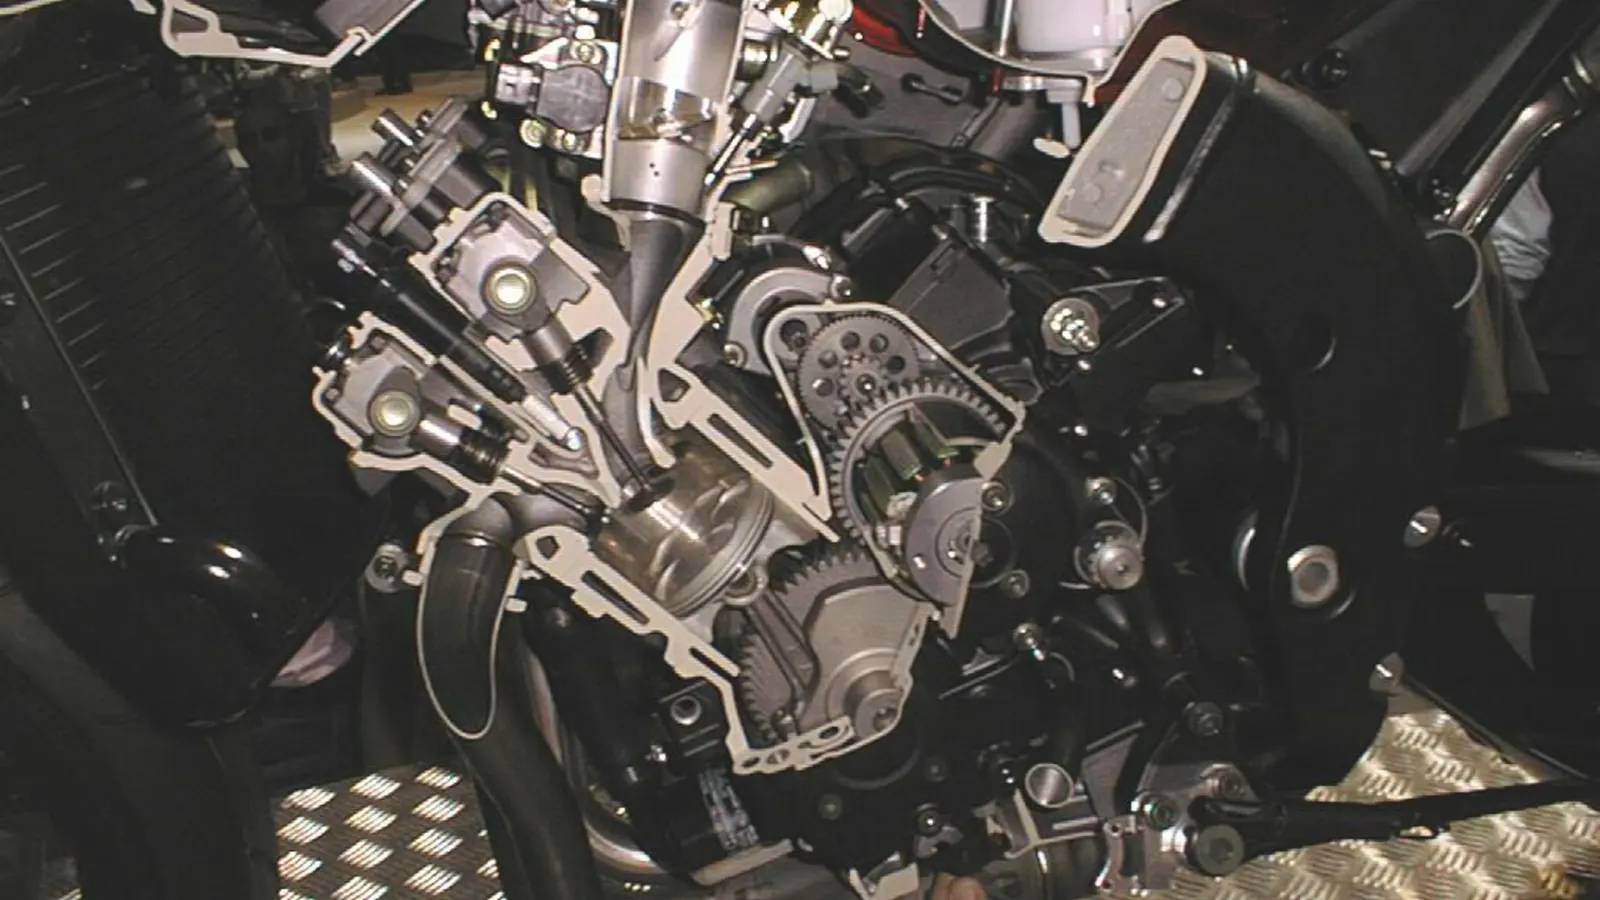

Valve adjustment is often neglected. Intervals, step-by-step method, tools needed, and the warning signs of wear.
Sommaire · 7 parties
01Why adjust the valves?
On a 4-stroke motocross engine, the valves progressively "close up" as they wear: the clearance shrinks. Valves that are too tight:
- No longer seal fully → loss of compression → loss of power
- Run too hot → risk of burning the seat → premature top-end
- Worst case → the valve stays open and hits the piston
02When to check the clearance?
| Model | Check interval | Shim replacement interval |
|---|---|---|
| KTM 250/350/450 SX-F | 15 hours | When out of tolerance |
| Yamaha YZ250F / YZ450F | 20 hours | When out of tolerance |
| Honda CRF250R / CRF450R | 15 hours | When out of tolerance |
| Husqvarna FC 250/350/450 | 15 hours | When out of tolerance |
| Enduro (EXC, WR, CRF-X) | 30 hours | When out of tolerance |
Source: manufacturer workshop manuals, thomas-mx-shop.fr
03Typical valve clearances (cold values)
| Intake | Exhaust | |
|---|---|---|
| KTM SX-F | 0.10-0.15 mm | 0.12-0.17 mm |
| Yamaha YZF | 0.10-0.20 mm | 0.15-0.25 mm |
| Honda CRF-R | 0.12-0.17 mm | 0.17-0.22 mm |
Always check cold (engine standing for at least 6 h).
04Step-by-step method
Tools required
- Feeler gauge set (0.05 mm to 0.30 mm)
- Spark plug spanner
- Screwdriver or spanner for the valve cover
- Crankshaft turning tool or 17 mm spanner
- Set of calibrated shims (if out of tolerance)
The steps
1. Remove the seat, the tank and the valve cover 2. Bring the piston to Top Dead Centre (TDC) : flywheel mark aligned, both rockers free 3. Slide the feeler gauge between the follower and the top of the valve : it should pass with slight friction 4. Note the value : if it's within tolerance, you're fine. If it's too tight (the minimum gauge won't pass) → the shim needs changing 5. Change the shim if needed: remove the camshaft, take out the follower, replace the shim with a thinner one (= more clearance)
Time and cost
| Scenario | Time | Cost |
|---|---|---|
| Check only (DIY) | 30-45 min | €0 |
| Shim replacement (DIY) | 2-3 h | €30-80 (shims) |
| At a workshop | 1-2 h | €80-200 |
05Warning signs
- Harder to start than before
- The engine "rattles" slightly at idle
- Progressive loss of power at high revs
- The bike "pulls less" with no obvious reason
06The classic trap
Not checking the valves because "the bike runs fine". By the time the symptoms show up it's often already late: the valve seat is damaged and simply swapping shims is no longer enough.
07The interval is in hours
Valve clearance is the service where running late costs the most, and every manufacturer states it in engine hours. An engine hour meter takes the guesswork out of a deadline that does not forgive it.
Un compteur d'heures fiable + un carnet automatique, c'est ce que fait HOROTAG RUUVI.
Boîtier sous la selle, app gratuite, sans abonnement. 129 € payés une fois.
Voir HOROTAG RUUVI